

Culineer Team
Member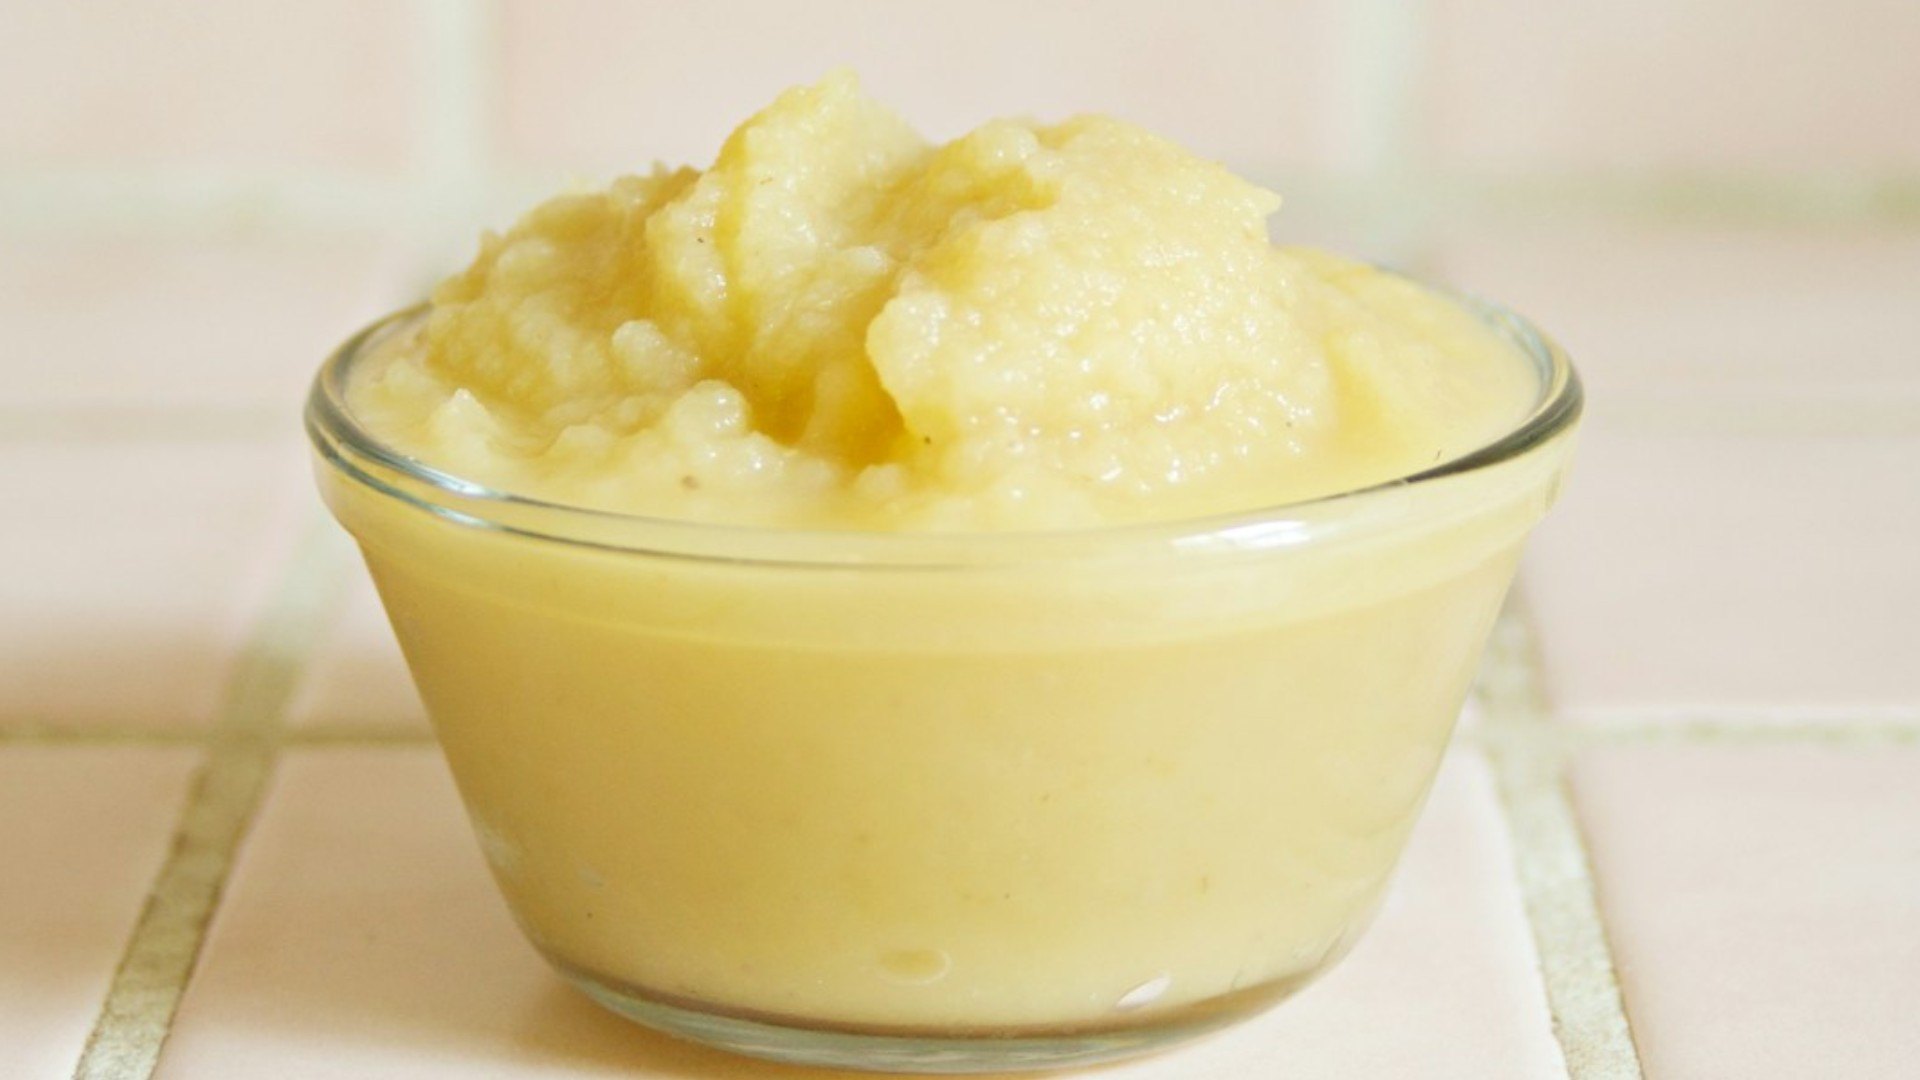
How to Make Applesauce at Home and Decide on the Texture Last
Applesauce is one of the few recipes where the biggest decisions come after the cooking. Chunky or smooth, sweet or tart, a pot for tonight or a freezer full for January: all of it can wait until the apples have gone soft. This guide shows how to make applesauce from fresh apples, with the storage rules that extension food scientists have tested.
The Best Apples for Applesauce Are a Sweet and Tart Mix, About 3 Pounds per Quart
The National Center for Home Food Preservation, based at the University of Georgia, says to choose apples that are sweet, juicy and crisp. Its balancing rule: for a tart flavor, add 1 to 2 pounds of tart apples to every 3 pounds of sweeter fruit. Illinois Extension gives the same advice in different words, a mixture of sweet and tart apples.
Rare varieties are not required. Ask the grower which apple they would call tart and which sweet, and take some of each. Culineer's Pennsylvania apple varieties guide sorts varieties by use, from eating and baking to sauce and storage, and the apples ingredient page shows when they are in season. If you have not bought any yet, the apple picking guide covers orchards across the region and what to check about the crop before you drive.
For planning, the National Center gives an average of 3 pounds of apples per quart of sauce. A 48-pound bushel yields 14 to 19 quarts. If your haul is bigger than one pot can handle, the post on what to do with too many apples covers sorting, storing and using the rest.
Wash, Trim, and Decide Whether the Peels Stay
Illinois Extension advises washing apples under clean running water before cutting. The stem end and the blossom end hold the most dirt, so a brush helps. No soap is needed, and the FDA advises against fruit and vegetable washes. Cut away bruised or damaged spots. Process the apples soon after you get them home: if you cannot get to them within 6 to 12 hours, keep them somewhere cool and dry.
Cut apples darken quickly. The browning is harmless, but it makes sauce look dull. If you like, the tested directions say to drop the slices into water containing ascorbic acid, which is plain vitamin C powder sold with canning supplies. Illinois Extension notes that lemon juice also helps hold the color.
Those tested directions also call for peeling and coring. Many cooks leave the peels on and strain them out later with a food mill. That is a home habit and not something the extension directions describe, so peel first if you plan to can the sauce.
Cook Until the Slices Slump, Usually 5 to 20 Minutes
Put the drained slices in a large, heavy pot. The tested directions use a half cup of water for a canner-sized batch in an 8 to 10 quart pot, heat the apples quickly, and stir now and then so the bottom does not burn. The slices turn tender in 5 to 20 minutes, depending on how mature the apples are and which variety you chose. Softer apples collapse sooner than firm ones, which explains the wide range.
You are done when a spoon pressed into a slice goes straight through and the edges have started to fall apart. Do not wait for the whole pot to turn to mush on the stove. The next step finishes the job.
For a bushel of sauce apples, open the Culineer map and filter for pick your own or farm stands near your town.
Chunky, Smooth, or Somewhere in Between
Texture is your call. Both the National Center and Illinois Extension say the same thing: press the cooked apples through a sieve or food mill for a smooth sauce, or skip that step for a chunky one.
For chunky sauce, leave the pot as it is and stir, breaking up the larger pieces with a spoon.
For smooth sauce, work the apples through a food mill or sieve while they are hot.
For something in the middle, mash with a potato masher and stop when you like what you see. No tested recipe tells you how far to go, so judge the texture by eye.
For both, scoop out a portion before milling the rest, and you have two jars of two different sauces from one pot.
Taste Before You Sweeten
The tested directions say sauce may be packed without sugar, and that if you want some, 1/8 cup of sugar per quart is the starting amount. Taste it, then add more only if you prefer. A mix of sweet and tart apples often needs little, so decide after the fruit has cooked, not before. Cinnamon, a squeeze of lemon or a grating of nutmeg can wait until the end too, since each is easy to add and impossible to take back out.
Cool It Fast, Then Choose Fridge, Freezer or Jars
Hot sauce in a deep pot cools slowly. For sauce you plan to freeze, Illinois Extension suggests setting the pot in a sink of cold ice water and stirring, changing the water as needed, until the sauce is completely cool before it goes into containers.
Refrigerator. For homemade sauce you are not canning, the closest official rule is the USDA's leftovers guidance, which allows 3 to 4 days in the refrigerator. It is written for cooked leftovers in general and never names applesauce, so treat it as a cautious default.
Freezer. Fill containers leaving 1/2 inch of headspace for pints and 1 inch for quarts, and wipe the rim so the lid seals. Illinois Extension also suggests adding lemon juice or ascorbic acid to hold the color. The same USDA page puts frozen leftovers at 3 to 4 months for best quality, and notes they stay safe longer but can lose moisture and flavor.
Canning. Shelf-stable applesauce follows stricter rules. The National Center's hot-pack directions say to reheat the sauce to boiling, fill hot jars leaving 1/2 inch of headspace, and process in a boiling-water canner.
Higher elevations, dial-gauge and weighted-gauge canner times are on the official applesauce page. Canning guidance can be updated, so check that page before each season. Illinois Extension rules out shortcuts: no oven, microwave, slow cooker or open-kettle canning to make jars shelf-stable.
Apples are the first step in a fall pantry. Join Culineer free to look up other ingredients that are in season where you live.
Frequently Asked Questions
Can I use bruised or windfall apples for applesauce?
Yes, as long as you cut away the bruised or damaged areas first. Discard any apple with signs of spoilage. Illinois Extension's cider guidance lists a grainy, soft interior, wrinkled skin, discoloration or mold as the warning signs. A few firm apples with small blemishes are fine, but a soft one that has gone bad will spoil the batch.
How do I thaw frozen applesauce?
The refrigerator is the slowest of the three official thawing methods, and the sauce stays safe the whole time. Cold water is faster if the sauce is sealed in a leak-proof bag. In the microwave, keep heating until the sauce reaches 165 °F on a food thermometer. After thawing, the USDA page allows 3 to 4 days before you need to use or refreeze it.
Can I can applesauce in an electric pressure cooker or the oven?
No. Illinois Extension lists ovens, microwaves, slow cookers, dishwashers and electric pressure cookers among the unsafe ways to can food. A pressure cooker is not a pressure canner. The tested directions call for a boiling-water canner, or a dial-gauge or weighted-gauge pressure canner with the times on the official page.
Can I make applesauce from one kind of apple?
Yes. The sauce will taste like that apple, nothing more. Illinois Extension notes that tested recipes usually explain how to shift the ratio of apple types toward more tart or more sweet, so a sauce that tastes too flat from a single variety can be improved next time by blending in a second kind.
Why did my canned applesauce turn brown at the top?
Illinois Extension says browning comes from cut apples meeting air and can show up at several stages. Surface browning can happen when the sauce was not heated enough or when too much air remains in the headspace, and trapped air bubbles can do it too. Use ascorbic acid or lemon juice, and remove bubbles with a plastic tool before sealing.